Everything You Need To Know To Add Ceiling Speakers To Sonos
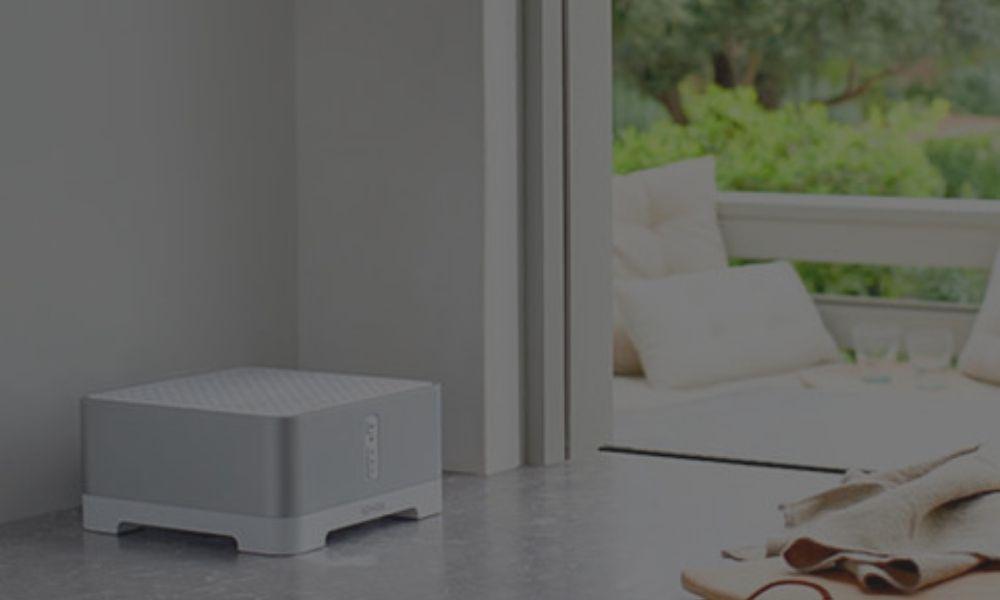
The aim of this guide is to help you understand how and why you would use ceiling or in wall speakers with the Sonos Connect AMP.
Read on to find out more...
Why Choose Ceiling Speakers For Sonos?
There are quite a few reasons why you'd want ceiling speakers over a freestanding wireless speaker.
- Discreet - No boxes, amps or speakers taking up space or in the reach of curious toddlers.
- Better Sound Coverage - Fill your room with sound.
- No Cables On Show - Once the system has been installed there will be no cables or amplifiers on display.
- Freedom Of Choice - You can use speakers of any type from almost any brand with a Sonos Connect AMP.
An installed audio system will blend seamlessly in with your decor and will always be ready to play your music.
No searching for batteries, remotes etc.
Just press play on the app and music will begin to play!
Which Ceiling Speakers For Sonos?
The great thing with the Sonos Connect AMP is the fact you can have speakers from any brand giving you complete flexibility.
There are plenty of great brands on the market, we recommend speakers from brands such as Q Install, Monitor Audio, Polk Audio & Lithe Audio.
First you need to consider where the speakers are going to be installed and what you are trying to achieve.
For general background music then entry level speakers such as the Q Install QI65CB or the Monitor Audio PRO-65 would be sufficient. If however you crave performance then we'd suggest investing a little bit more and looking at the QI65CP performance range from Q Install, Polk's V60 range or the Monitor Audio C265-IDC three way ceiling speakers.
For a bathroom you'll want to look at speakers that are moisture proof or IP rated. The Q Install range of wet room speakers are ideal. They also offer the QI65CW-ST single stereo wet room speaker which is perfect for the majority of bathrooms.
There are also a range of different sizes for ceiling speakers, the most common being 4", 6.5" and 8".
The most common choice is 6.5". They provide a great sound with sufficient bass levels for most installations.
4" speakers are perfect for stereo sound in smaller rooms, or where ceiling space is at a premium. Whilst they are smaller the Monitor Audio CS140 is still a great sounding ceiling speaker.
If you like entertaining and dancing around the kitchen and have sufficient ceiling space then 8" ceiling speakers will provide a better overall sound dispersion and as the bigger drivers move more air you'll get a deeper bass from them.
What Do I Need?
Ceiling speakers with Sonos is actually pretty easy, you simply need a Sonos Connect AMP, some ceiling speakers and some speaker cable.
We do make it a bit easier for you as we have quite a few of the most popular bundles here.
You would install the Sonos Connect AMP either in a central location (i.e under the stairs) or you could install it locally in the room (i.e in a kitchen cupboard).
Whilst the Sonos Connect AMP can be connected to your network via WiFi we would strongly recommend that you install a Cat 5E cable from the AMP to your internet router. This will give you the best reliability and performance.
Once you have sited the AMP you then install two speaker cables from the AMP position to the ceiling speakers. One for the left speaker and one for the right speaker.
It's worth noting that you can use any speakers with the Sonos Connect AMP. So you could also use bookshelf speakers, in wall speakers, garden speakers etc.
How Many Sonos Connect AMPs Will I Need?
You'll need one Sonos Connect AMP per separate zone.
If you are going to add music to your kitchen and your bedroom, these are two distinctly different zones. You'll want to play different music in each location and potentially at the same time.
So for each room/area you want to listen to music you will need one Sonos Connect AMP
You can save yourself a bit of money in certain locations though!
For example, if you want music in your bedroom and your en-suite we'd suggest treating this as one "zone". Install a single stereo speaker or a pair of speakers in the bedroom, and the same again in the ensuite. Both rooms will play the same music at the same time but you'll only need one Connect AMP!
Likewise for open plan kitchen and dining rooms. If it is unlikely that you'll play the radio in the kitchen and Spotify in the dining room at the same time then you could use one Connect AMP with two pairs of ceiling speakers connected.
We also have some in wall speaker switches and volume controls which would let you turn one room off or adjust the volume down in the sub-room.
With some careful planning a whole home audio system with Sonos doesn't have to cost a fortune!
How Many Ceiling Speakers Can I Connect To A Sonos Connect AMP?
There will be plenty of situations where a project will need more than a pair of speakers.
Luckily you can easily connect two pairs of ceiling speakers to the Sonos Connect AMP.
However there is one thing to watch out for and that is called "impedance".
In short, the Connect AMP can safely handle a load of 4 ohms.
Lower resistance = more power. Give the Connect AMP too low of a resistance and it'll go into thermal shut down to prevent damage. Not great when you're trying to entertain your friends!
Most ceiling speakers are 8 ohms so with one pair connected the AMP isn't working too hard, no problems!
When you put two resistances in parallel with each other, they will halve.
So if you connect two 8 ohm ceiling speakers to a channel of the AMP, the AMP will see a load of 4 ohms which it is capable of powering sufficiently without any problems.
However if you were to use 6 ohm ceiling speakers (Monitor Audio) then the AMP would see 3 ohms, and if you use 4 ohm ceiling speakers (Elipson) the AMP would only see 2 ohms which is going to cause some problems.
When choosing your speakers just bear this in mind and you will be fine.
If you want to connect more than two pairs of speakers to your system, or specifically want to use one of the above mentioned speakers then you can do this by using a protected speaker selector switch. These will let you safely connect up to 8 pairs without damaging the amplifier.
Using A Subwoofer With Sonos Ceiling Speakers
There are a number of ways that you can use a subwoofer with Sonos ceiling speakers.
Firstly, and the easiest way, is to use the wireless Sonos SUB. This simply plugs into a power socket and connects to the zone in the Sonos app. Easy!
You can also use any subwoofer of your choice by connecting it to the subwoofer output on the amplifier itself. Perfect if you already have a subwoofer or want to use a specific brand of subwoofer.
And if you want to maintain that discreet look then you could use a built in wall or in ceiling subwoofer, you'll need a subwoofer amplifier to power it though. This then connects to the subwoofer output of the Sonos Connect AMP.


