Vinyl has a special place in the hearts of music lovers, offering a unique listening experience that digital formats can’t quite replicate.
But if you’re thinking about buying a record player or already own one, there’s more to it than just dropping the needle.
A properly set up and well-maintained turntable is key to unlocking the full potential of your vinyl collection.
Without regular care, even the best record player will degrade in performance, and your precious records can suffer unnecessary wear and tear.
This guide will walk you through everything you need to know about setting up your turntable, caring for your stylus, and preserving your vinyl records.
From fine-tuning your turntable for crisp, clean sound to keeping your records free of dust and scratches, these simple but essential steps will help you get the most out of your setup while ensuring both your gear and your collection last for years.
Let’s explore how you can make your vinyl listening experience as enjoyable and long-lasting as possible!
Setting Up Your Turntable: Laying the Foundation
The first step in ensuring great sound and a long life for your record player is proper setup.
Skipping these steps can result in poor sound quality, uneven wear on your records, or damage to the stylus.
1. Find a Solid, Flat Surface
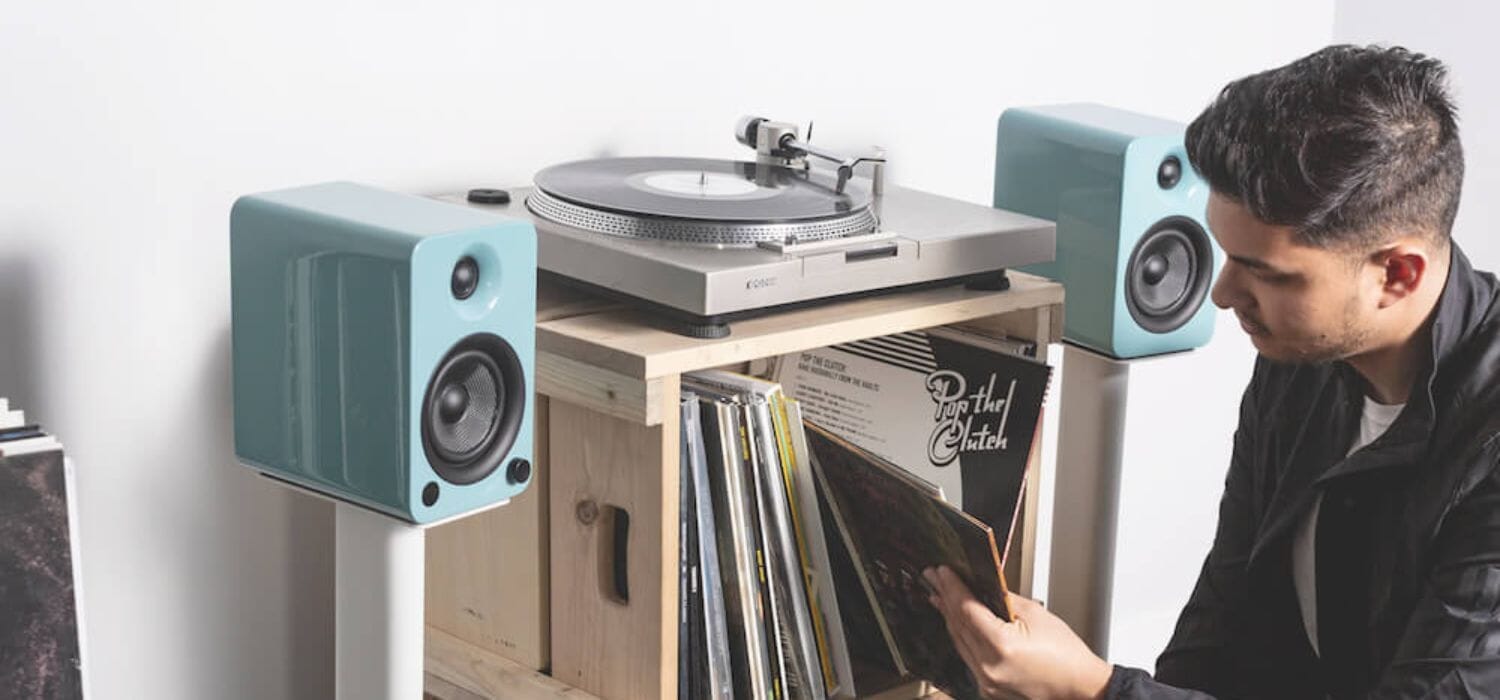
Your turntable needs a sturdy, level surface to avoid vibrations that can disrupt playback.
Placing it on a wobbly or uneven table might cause skipping or inconsistent sound.
Ideally, use a dedicated turntable stand or any flat, vibration-resistant surface.

Some audiophiles even invest in isolation feet or platforms to dampen external vibrations.
2. Level the Turntable
Once your turntable is in place, make sure it’s perfectly level.
Many modern turntables come with adjustable feet to help with this, but if yours doesn’t, a simple spirit level will do the trick.
If it's not level, your stylus may not track properly, leading to uneven wear on both the stylus and your records.
3. Install The Platter & Belt (If Applicable)
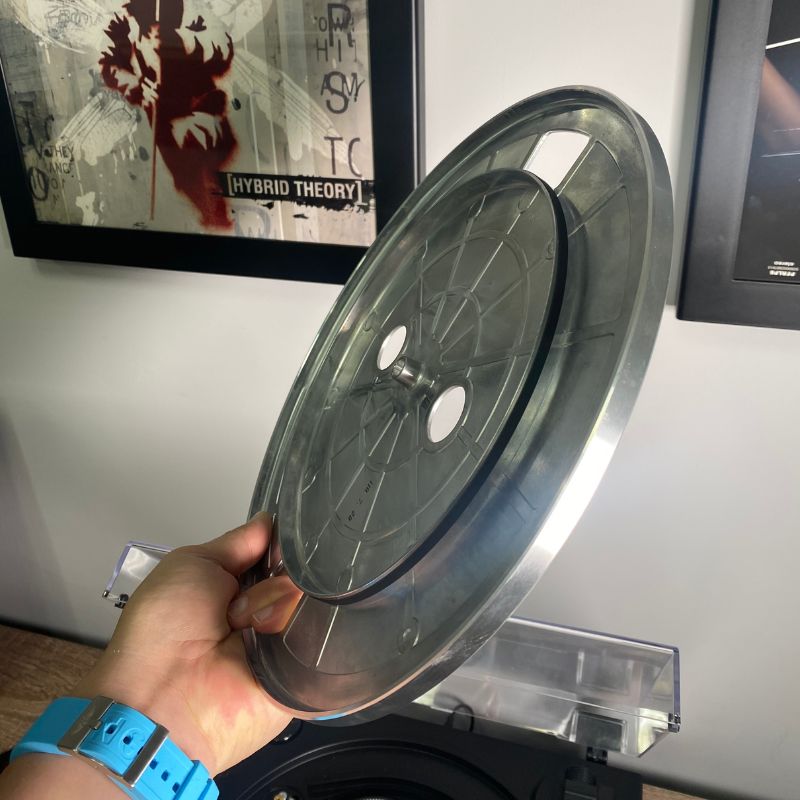
For belt-driven turntables, you’ll need to attach the platter and belt.
Check your turntable’s manual for specifics on how to do this, as it can vary by model.

Ensuring the belt is correctly installed and tensioned will guarantee smooth spinning and proper speed.
4. Balance the Tonearm & Set The Tracking Force
If you choose a turntable with an adjustable counterweight and anti-skating, this step is critical and can greatly affect your playback quality and the lifespan of both your stylus and records.
First, you’ll need to adjust the tonearm counterweight until the tonearm "floats" horizontally.
Once balanced, set the tracking force to match the specifications of your cartridge.
Note that some turntables, such as the popular Audio-Technica LP60X, come pre-set and aren't adjustable so you can skip this step.

Most turntables will have a guide for this in the manual, but the general range is between 1.5 and 2 grams.
Too much force can cause damage; too little can lead to poor tracking and sound distortion.
5. Set The Anti-Skate
Anti-skate helps keep the tonearm from drifting inward too aggressively as it plays.
This setting should usually match your tracking force (e.g., if your tracking force is set to 2 grams, set your anti-skate to 2 as well).
It ensures that the stylus stays centred in the groove, reducing wear on the record and the stylus.
As per above, not all turntables have anti-skate control, so if yours doesn't, skip this step.
Caring for Your Stylus: Extending Its Life
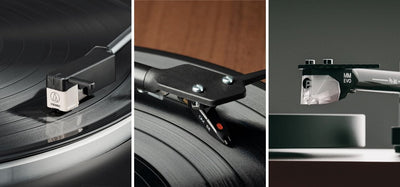
Your stylus (or needle) is one of the most important and delicate parts of your turntable.
Keeping it in good shape will not only prolong its life but also ensure you’re getting the best possible sound from your records.

1. Keep It Clean
Stylus cleaning should be a regular part of your record-playing routine.
Dust and dirt that accumulate on the stylus can affect sound quality and even damage your records.
A stylus brush is a simple and affordable tool for this.
Gently brush the stylus from back to front after each listening session to keep it clear of debris.

There are also specialised cleaning solutions and gels available if you want to go the extra mile, although bear in mind that brands such as Ortofon & Pro-Ject recommend using a brush alone.
Read More: How To Clean Your Turntable Stylus?
2. Avoid Touching The Stylus
It can be tempting to touch the stylus out of curiosity, but doing so can damage it or dislodge it from the cartridge.
When handling your turntable, always be careful not to bump or brush against the stylus.
Also be careful when playing your records—always use the cueing lever to lower the stylus onto the record. Don't place it manually, as you'll risk damaging it.
3. Replace The Stylus Regularly
Over time, even with perfect care, your stylus will wear down.
A typical stylus will last anywhere from 500 to 1,000 hours of playtime.
If you notice a drop in sound quality—distortion, muddiness, or skipping—it might be time for a replacement.
Some turntables come with built-in indicators, but for most, you’ll have to keep track yourself.
Read More: How Long Does A Turntable Stylus Last?
Maintaining Your Vinyl Records: Keep Them Clean and Pristine
Vinyl records are far more delicate than CDs or digital files, and proper care is essential to maintaining sound quality and extending their lifespan.
Thought we were discussing maintaining your record player?
Well, your records are placed onto your turntable and a damaged, dusty, or dirty record may damage your turntable, so it's important that you maintain, store, and handle your vinyl records correctly.

1. Handle With Care
Always handle records by the edges and label, never touching the grooves.
The oils from your skin can attract dust and dirt, which will get lodged in the grooves and degrade sound quality.
If you accidentally touch the record surface, consider giving it a quick cleaning before playing it.
2. Clean Your Records Regularly
Dust and debris build-up in the grooves can cause pops, clicks, and even permanent damage.
Invest in a quality record cleaning brush to use before and after each play.
A great starter kit is the Legend Vinyl LV7 which contains everything you need to get started.

For a deeper clean, consider using a record cleaning solution or even a record cleaning machine.
If you’re on a budget, a homemade mixture of distilled water and a few drops of isopropyl alcohol can work in a pinch—just be sure to dry the record thoroughly before playing.
Read More: How To Clean Your Vinyl Records
3. Store Records Properly
How you store your vinyl is as important as how you play it.
Always store records vertically, never stacked horizontally.
Stacking can warp your records over time, rendering them unplayable.
Use proper record sleeves—anti-static inner sleeves for the vinyl itself and sturdy outer sleeves for the album jacket.

Keep your collection in a cool, dry environment away from direct sunlight and heat sources.
Read More: How To Store Your Vinyl Records
4. Be Mindful of the Temperature
Vinyl is sensitive to temperature changes.
Excessive heat can warp your records, while cold can make them brittle.
The best bet is to store them out of direct sunlight and away from heaters and radiators.
Routine Maintenance For Long-Term Turntable Health
Like any other piece of equipment, your turntable will need occasional maintenance to ensure it keeps running smoothly.
Fortunately, there's not too much to think about with most turntables!
1. Check the Belt (For Belt-Driven Turntables)
Over time, the belt in a belt-driven turntable may stretch or become brittle.
If you notice speed inconsistencies, such as music playing too fast or too slow, it might be time to replace the belt.

Most belts last a few years, depending on usage, and replacements are generally inexpensive.
2. Keep The Dust Cover On
When not in use, always cover your turntable with its dust cover to prevent debris from accumulating on the platter, tonearm, and stylus.
A little dust might seem harmless, but it can clog up your stylus and reduce sound quality.
Final Thoughts
By properly setting up your turntable, taking care of your stylus, and treating your vinyl records with respect, you’ll not only enjoy better sound quality but also extend the life of your equipment and collection.
Whether you're a casual listener or an audiophile, these simple maintenance routines will ensure that your turntable continues to deliver rich, warm sound for years to come.
Happy spinning!


