IN THIS ARTICLE: We'll show you how to install the belt and setup your Audio-Technica LP60X turntable…
… in a step by step guide complete with pictures.
When you purchase an Audio-Technica LP60X turntable you’ll need to do some basic setup.
Part of the setup process includes placing the belt onto the drive spindle.
Whilst this is a very easy process, if it’s not completed, or not completed properly then the turntable either won’t work at all or will have issues with the auto start/stop mechanism.
The following process is the same if you’re replacing an existing belt, but for the blog purposes we’ll cover the initial setup step by step.
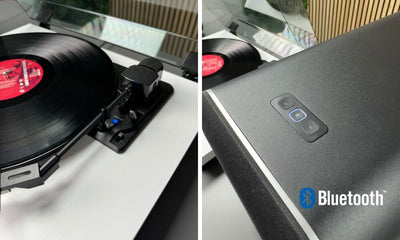
Note: This guide is the same for all LP60X variants including the USB, BT and the standard X.
Want to watch this instead of reading? In the below video you can watch Jack as he sets up the LP60X including installing the belt and setting up the start/stop mechanism.
How To Install The LP60X Belt
Step 1: Check The Belt Is Installed Onto Platter
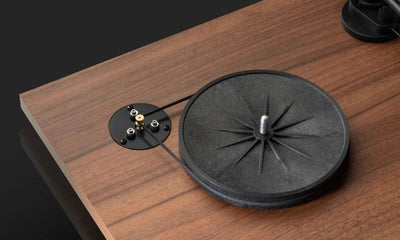
The LP60X belt is installed onto the platter itself, not the turntable mechanism.
If you’ve bought a new LP60X then the belt is pre-installed onto the platter and requires no further action. Do not remove it.
If however you’re replacing an existing belt you’ll need to remove the old one and place the new one around the platter as per the below picture.

Step 2: Place The Platter On The Turntable
Place the platter over the centre spindle and rotate the platter so that you can see the gold drive spindle through the hole within the platter.
The spindle is located on the upper left side of the platter.

Step 3: Place The Belt Over Drive Spindle
Ensure that you’re looking at the gold spindle, this is the motor pulley.
Grab the belt from the inside edge of the platter and place it over the gold drive spindle.
Important: This is the only step required, do not try to place it over the white spindle - this will cause issues. The belt is installed around the inside of the platter and the belt fits over the gold spindle only.

Step 4: Install Slip Mat
Place the slip mat over the centre spindle onto the platter.

Step 5: Setup Auto Start / Stop Mechanism
This is an important, but often overlooked step.
Now that your belt is installed and the slip mat is back on, let’s quickly set up the auto start/stop mechanism to avoid any potential issues.
- With the turntable turned off, press and release the stop button.
- Hold the tonearm in the rest with one hand, use your other hand to slowly rotate the platter in a clockwise direction for 10 full rotations.
- Place a record on the platter.
- Plug the turntable into the power and press and release the “Start” button.

It's important that you setup the start/stop mechanism following the above step. It's also important to ensure that you wait for the record to start / stop after you press the button.
Don't stop the turntable manually by being impatient as this will eventually throw out the mechanism timing and will prevent your record player from working correctly.
If your LP60X mechanism isn't functioning correctly then disassemble the turntable and rebuild and set it up following this guide.
Step 6: Enjoy Your Records
Your turntable is now completely set up and ready to use.
Grab your favourite record and place it on the platter.
Hit the “Start” button and wait for the turntable to spring into action.

Conclusion
Now you know how to set up the Audio-Technica LP60X turntable properly and should be ready to enjoy your records.
If you’re replacing an existing belt with a new one you should follow the same procedure, but you’ll also need to place the belt around the platter as seen in step 1.
Read More: How Long Does A Turntable Belt Last? (And How To Replace It)


